
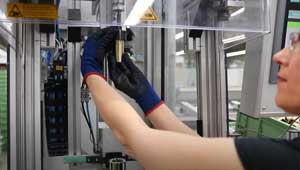
Insert screw unit
Mounting position on the machine marked
Target time: 7 seconds
1
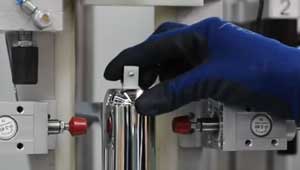
Attach shaft
Attach the shaft for the automatic assembly process
Target time: 10 seconds
2

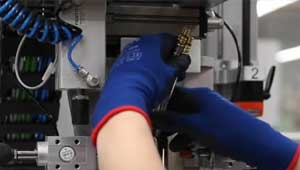
Insert second screw unit
Assembly position on the machine marked
Target time: 15 seconds
3
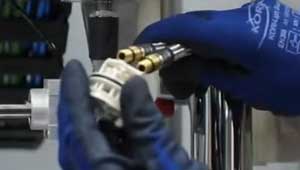
Thread valve
Valve is threaded from below behind the machine tool
Target time: 20 seconds
4.1
Thread valve
Valve is threaded from below behind the machine tool
Target time: 5 seconds
4.2
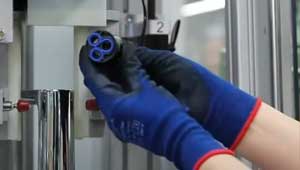
Put on socket
Socket is placed at the end of the valve
Target time: 5 seconds
5
Put on lid
Lid is placed on the first screw unit
Target time: 5 seconds
6
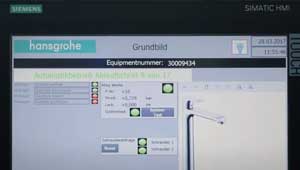
Start automatic programme
Automatic operation of the machine is started on the display
Target time: 10 seconds
7